
Several automotive parts require some form of gasket to create a proper seal. Two very common parts are the thermostat and the fuel pump. The require both a paper gasket and some gasket sealer. In the unfortunate circumstance, you may have received the wrong paper gasket with your automotive part, or it didn’t seal properly causing you to remove it and it’s damaged, or you ripped it. If a paper gasket is ripped, it’s not going to work properly.
Difficulty: Easy
Skill Level: Beginner to Intermediate
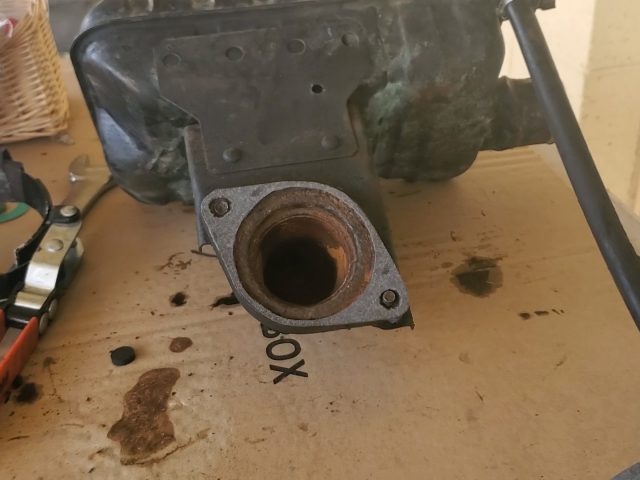
Gaskets are cheap, but in this scenario you’re going to need to run back up to the automotive parts store and if it’s late at night, or it’s a long drive, or worse, you can’t find the gasket you need online anywhere, you’re going to need to make your own gasket. Today we’re going to show you how to make a gasket for our thermostat housing.
Repair Tip: Have a roll of gasket paper in your tool assortment or shop.
Step by step instructions on how to make your own gasket
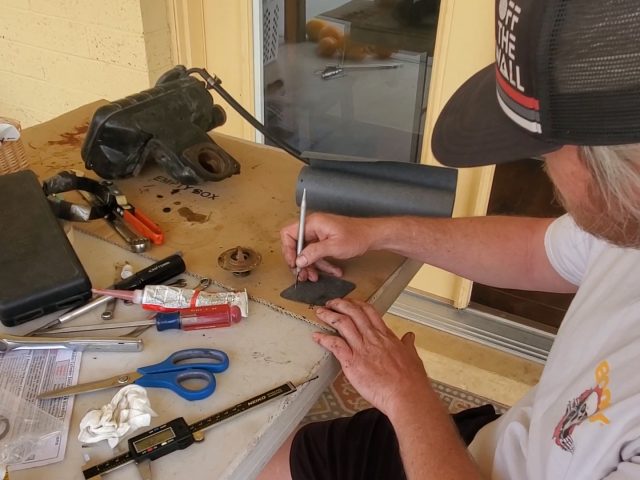
Start by either tracing your old gasket, or by using your part as an outline. If you have to use your part, place it on the gasket paper, and get a fine pointed sharpie and make your outline. So once you trace the outline, go ahead and cut it out with an exacto knife, or scissors.
Now that you have your gasket cut to it’s outline shape, you’ll need to cut holes in it. It’s common for gaskets to have at least 3 holes in them. There should be two holes for the bolts/connectors and one larger one in the center. This is the case for both a thermostat gasket and fuel pump gasket. However, tracing and making circles on your own isn’t always easy.
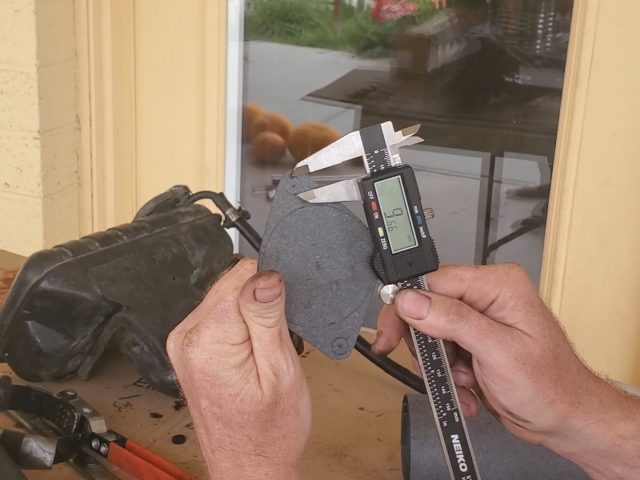
In order to create perfect circles, it’s helpful to have a pair of calipers or digital calipers in your tool box. Learning to use calipers isn’t the basis for today’s how-to, but in the following you’ll learn some different ways you can use them to make precise measurements.
It’s also helpful to know some basic math concepts for circles like Circumference, Diameter, and Radius but for today, we just need to know diameter (the length across the center of a circle) and radius (half the length of the diameter) which you can find easily with calipers.
Start with the largest hole first, it’ll make your gasket easier to work for the remaining holes. Take your calipers, and measure the inside dimension of your part using the small teeth on the calipers. Caliper Use Tip: Think of it like this, the large teeth at the front of the caliper’s head measure outside distances. The small teeth at the rear of the caliper’s head are used to measure inside distances. While the stick that comes out of the bottom is used to measure depth.
Once you’ve measure the inside diameter for the large hole on your part, make note of the measurement. You’ve just recorded the diameter of the large hole. If the measurement is 3″, then divide that number in half to find the radius, in this case it’s 1 1/2″. Set your calipers to 1 1/2″ and lock them down with the tightening screw.

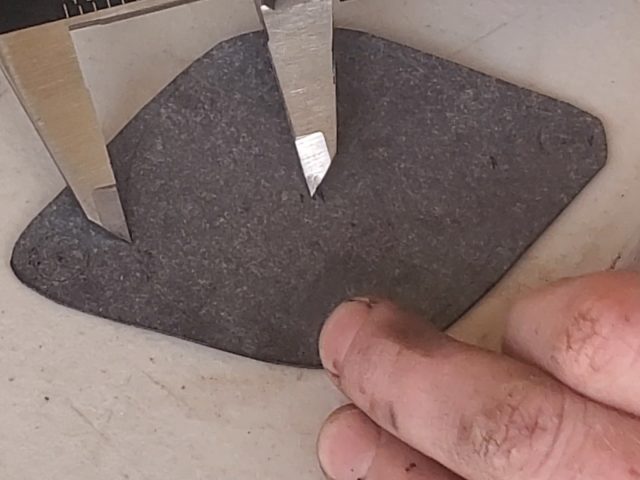
Measure the total width of your gasket. Divide that by 2. The result is the “center point” of the gasket. Make a dot in the center with your sharpie. Now set your calipers back to 1 1/2″ and lock them down with the tightening screw. Place a tooth of the calipers on the center hole, and score the gasket paper in a circular motion. The result will be a perfect circle. The teeth of the calipers are sharpened for this exact reason (to make marks on surfaces).
Now that you’ve traced your large diameter circle, use your xacto knife to cut it out. Using scissors at this point is a bad idea and you could possibly tear your gasket by using them.
Once you’ve cut the large hole in the center of the gasket, it’s time to trace and cut out both the holes for the bolts. Going back to your replacement part, measure the distance from the outside of the part to the beginning of where the bolt hole starts and then make a dot on your gasket paper for it. Then, just like we did with the large circle, we’re going to determine the diameter and radius of these bolt holes.
Measure the inside distance of the bolt holes on your part. Then divide that number in half to get the radius. Similar to how you scored the large diameter circle, you will do this again but will need to place one of your caliper teeth on the dot to then find the center point of your bolt hole. Once you’ve found the center point of your bolt hole, mark it with a sharpie, and then score the gasket by rotating your calipers in a circular motion while dragging the caliper tooth across the gasket surface.
Now you just need to use your xacto knife to carve out the first bolt hole circle. You can be a little generous with your circle because you don’t want it to be too small otherwise your bolt will catch in it and mess up your reassembly.
Repeat the above steps to trace and cut out the final bolt hole.
You’ve now got a homemade gasket that is sure to do the trick.
In the case with thermostats and mechanical fuel pumps, you’ll want to place gasket sealer on both sides of the paper gasket before reapplying to your engine.
Running into an unexpected problem while performing your car repair is almost a given. It’s not if it’s going to happen, it’s when. You really should come to expect the unexpected when it comes to car restoration, but knowing how to tackle little problems makes all the difference in the world and can really boost your confidence. If you have a torn or missing paper gasket, no problem. You got this one in the bag.


